
Hey there DIY family!
Today I will be sharing three beautiful patriotic farmhouse decor DIYs!
For our first project today, I will be using this scarf from the Dollar Tree and this white fabric I had at home to make a pillow.

First, I cut two square pieces of fabric from the scarf and two square pieces from my white fabric.

Next, I used my Singer sewing machine to sew together the pieces of fabric, so that I have the scarf on one side and white fabric on the other.


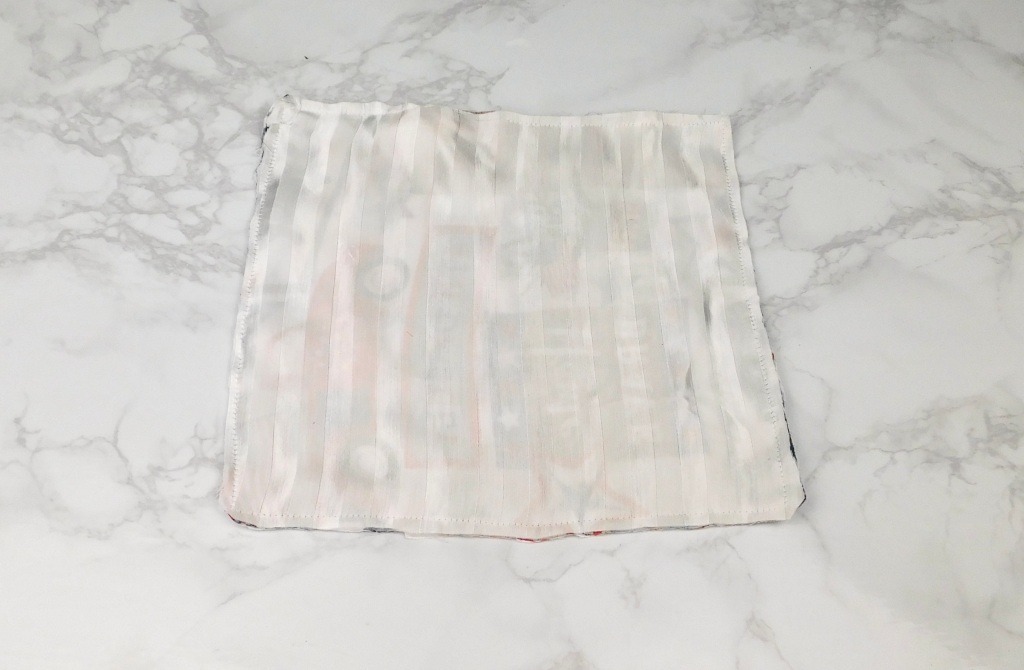
Next, I sewed both pieces together with the scarf side facing each other and the white side facing out. I made sure to leave a small opening on one side.

Then I went through the small opening and pulled one corner out at a time to flip the entire pillow inside out.

Next, I filled the pillow using Poly-fil until it was nice and fluffy.

Lastly, I closed the small opening using a needle and thread. There we have a beautiful patriotic pillow!

For our second project today, I will be using this certificate picture frame from the Dollar Tree.

First, I started off by painting the frame using Waverly Chalk Paint in the color White.

Next, I traced the outline of the insert from the frame onto this faded blue piece of scrapbook paper and cut it out.

Next, I used my ruler to add three lines across the paper with a brown marker and then applied some Waverly Wax Paint in the color Antique on a dry brush to distress it.


Then, I used my Silhouette Cameo 4 to print out a silhouette of the USA and added it onto the glass. I also printed out a stencil that says, “Sweet land of liberty.”
I used my Dollar Tree stencil brush to fill the stencil using Waverly Chalk Paint in the color White and Waverly Chalk Paint in the color Ocean.


Lastly, I reassembled the frame back together and viola!


For our last project today, I will be using this red yarn I had at home, wooden beads, and some Dollar Tree jute twine.

First, I started off by cutting a small piece of yarn and placing it on top of this book which I will be using as my measurement tool. Then, I started to wrap the yarn around the book several times.

Next, I tied a knot on top using the original piece of yarn and used my scissors to cut the yarn at the bottom of the book.
Then, I took a small piece of white yarn and wrapped it around the top of the tassel. I also took my scissors and trimmed the tassel at the bottom to create a straight line.


After making a second tassel, I started adding the wooden beads onto the jute twine using a crochet needle.


Lastly I tied a tassel onto each end of the jute twine and trimmed off the excess yarn. And there we have a beautiful, natural wooden bead garland!


To follow along with me, check out my video:

Leave a comment